
Bechamel Pasta with Minced Meat in the Classic Style – Sarah’s Creamy, Hearty, Family-Favorite Comfort Classic
July 23, 2026
California Cobb Salad – Sarah’s Fresh, Colorful, West Coast Classic
July 24, 2026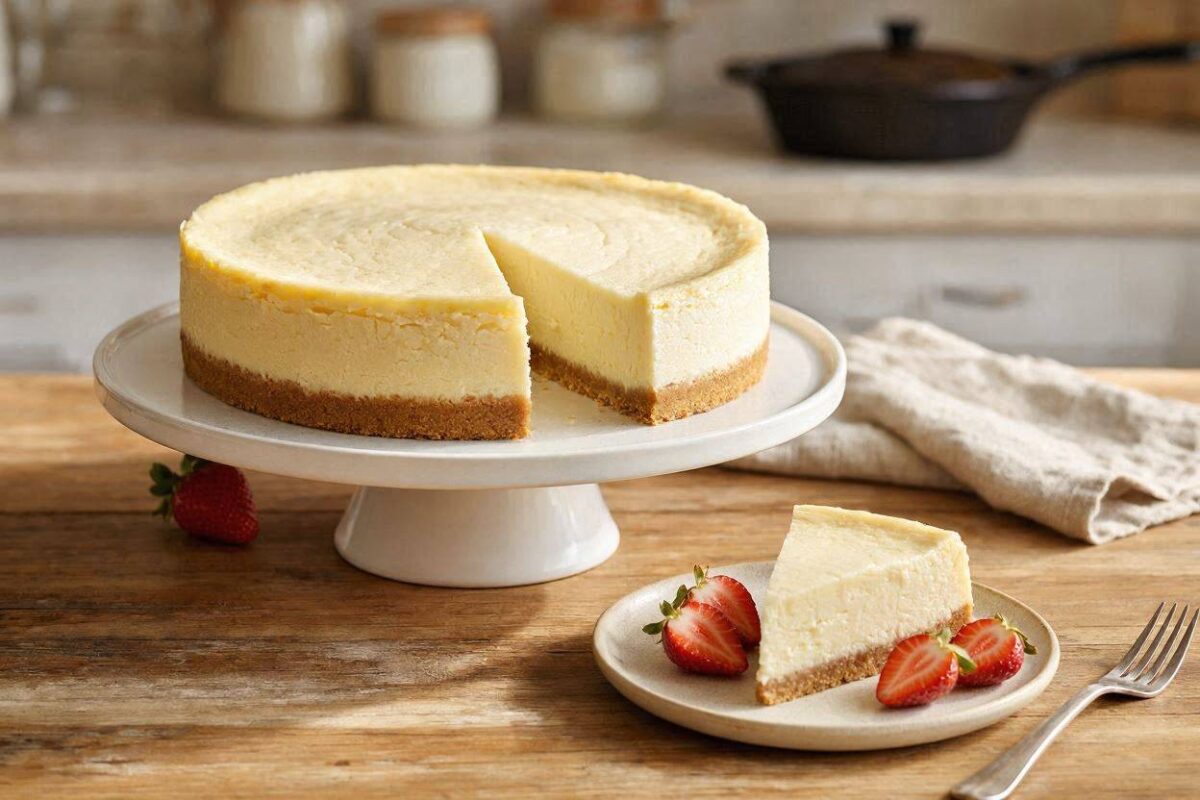
Introduction – A Word from Sarah
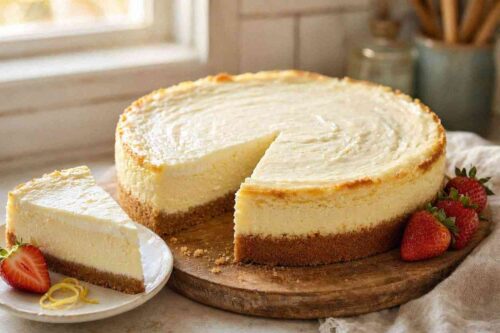
I’m Sarah , and if there’s one dessert that makes me feel like I’m sitting in a bustling New York City deli, it’s this Classic New York Cheesecake.
I still remember the first time I tasted it. I was visiting New York, and a friend took me to a famous deli. We ordered a slice of cheesecake, and when it arrived, I was captivated. It was tall, dense, and creamy, with a beautiful golden top and a buttery graham cracker crust. One bite, and I was in heaven.
When I returned home, I was determined to recreate that magic. After many attempts and a lot of patience, I finally perfected my own version. Today, I’m sharing with you Sarah’s Classic New York Cheesecake — the dessert that will make your family feel like they’re dining in the Big Apple.
Why This Cheesecake Is Special in Sarah’s Kitchen
This cheesecake isn’t just a dessert — it’s a creamy, dense, show-stopping classic. It’s the dish I turn to when I want to impress, celebrate, and indulge in something truly spectacular.
What makes it unique in my kitchen:
-
The creamy texture: Dense, silky, and absolutely luxurious.
-
The buttery crust: A perfect graham cracker base.
-
The tangy sour cream topping: Adds a beautiful finish.
-
The simplicity: Just a few quality ingredients create something magical.
-
The tradition: A beloved classic that never goes out of style.
Ingredients – From Sarah’s Kitchen
For the Crust:
-
2 cups (200 g) graham cracker crumbs.
-
1 tablespoon granulated sugar.
-
½ cup (115 g) unsalted butter (melted).
For the Cheesecake Filling:
-
900 g (4 x 8-oz packages) cream cheese, room temperature.
-
1 cup (200 g) granulated sugar.
-
3 tablespoons all-purpose flour.
-
1 teaspoon vanilla extract.
-
4 large eggs, room temperature.
-
½ cup (120 ml) sour cream.
-
¼ cup (60 ml) heavy cream.
For the Topping:
-
1 cup (240 g) sour cream.
-
2 tablespoons granulated sugar.
-
1 teaspoon vanilla extract.
Step-by-Step Method – Sarah’s Golden Steps
Step 1: Make the Crust
I’m Sarah , and I’ve learned that a good crust is the foundation of a great cheesecake.
Preheat your oven to 180°C (350°F) .
In a medium bowl, combine the graham cracker crumbs, sugar, and melted butter. Mix until the crumbs are evenly moistened and the mixture holds together when pressed.
Sarah’s Tip: For the perfect crust, press the mixture firmly into the bottom and about 2.5 cm (1 inch) up the sides of a 23 cm (9-inch) springform pan .
Press the crust into the springform pan using the bottom of a flat measuring cup or glass to ensure an even, compact layer .
Bake the crust for 8-10 minutes until lightly golden and fragrant . Remove from the oven and set aside to cool while you prepare the filling.
Sarah’s Tip: If you can’t find graham crackers, digestives or shortbread cookies work beautifully .
Step 2: Prepare the Filling
I’m Sarah , and this is where the creamy magic begins!
In a large mixing bowl, beat the cream cheese at medium-low speed until creamy and smooth — about 2 minutes . Scrape down the sides of the bowl with a spatula to ensure no lumps remain.
Sarah’s Tip: It’s essential to have the cream cheese at room temperature for a smooth, lump-free filling. Take it out of the fridge about 1-2 hours before you start .
Gradually add the sugar, flour, and vanilla extract, mixing on low speed until combined. Scrape down the sides of the bowl again.
Sarah’s Warning: Beat at low speed! Overbeating incorporates too much air into the batter, which causes the cheesecake to puff up and then crack when it cools .
Step 3: Add the Eggs
I’m Sarah , and this is where patience pays off!
Add the eggs one at a time, beating on low speed and scraping down the sides of the bowl after each addition. It should take about 30 seconds of mixing per egg .
Sarah’s Tip: Remember to beat, not whisk! Whisking incorporates too much air .
Once all the eggs are incorporated, add the sour cream and heavy cream and mix until just combined. The batter should be smooth, light, and somewhat airy, but not overmixed .
Step 4: Assemble and Bake
I’m Sarah , and this is the moment it all comes together!
Pour the filling into the cooled crust. If you see any lumps or air bubbles on the surface, smooth them out with a knife .
Sarah’s Tip: To pop air bubbles that have risen to the surface, gently draw the tines of a fork across the top of the cheesecake after letting it rest for 10 minutes .
Place the springform pan on a baking sheet to catch any drips.
Bake the cheesecake for 10 minutes at 200°C (400°F) , then reduce the oven temperature to 110°C (225°F) and bake for another 25-30 minutes .
Sarah’s Tip: If you prefer a creamier center, turn off the oven and open the door slightly while it cools. If you prefer a drier texture, leave the oven door closed .
The cheesecake is done when the outer 5 cm (2 inches) are set and slightly puffed, but the center still has a slight wobble when you gently shake the pan .
Step 5: Cool and Chill
I’m Sarah , and this is the hardest part — waiting!
Turn off the oven and leave the cheesecake inside with the door slightly ajar for 1 hour . This slow cooling helps prevent cracks.
Sarah’s Tip: Cooling the cheesecake slowly in the oven is the secret to a crack-free top .
After one hour, remove the cheesecake from the oven and place it on a wire rack to cool completely .
Step 6: Add the Sour Cream Topping
I’m Sarah , and this is the beautiful finishing touch!
In a small bowl, combine the sour cream, sugar, and vanilla extract for the topping. Mix until smooth.
Sarah’s Tip: Spread the topping over the cheesecake while it’s still slightly warm. This helps it set perfectly .
Spread the topping evenly over the cooled cheesecake, right to the edges .
Step 7: Chill Overnight
I’m Sarah , and this is where the texture becomes perfect!
Cover the cheesecake loosely with foil and refrigerate for at least 8 hours, preferably overnight . This is essential for the cheesecake to set properly and develop its signature creamy texture.
Sarah’s Tip: For the best flavor and texture, refrigerate your cheesecake for at least 24 hours before serving .
Step 8: Serve and Enjoy
I’m Sarah , and this is the moment everyone has been waiting for!
Run a round-bladed knife around the inside edge of the pan to loosen any stuck edges. Unlock the springform pan and carefully slide the cheesecake off the bottom onto a serving plate.
Sarah’s Tip: Run a knife or spatula around the inside edge of the pan immediately after baking to prevent cracking as the cheesecake cools .
Slice with a sharp knife, wiping the blade clean between each cut for beautiful, neat slices.
How to Serve New York Cheesecake – Sarah’s Style
I’m Sarah , and I love serving this cheesecake:
-
Plain and simple: The classic way to enjoy it.
-
With fresh berries: Strawberries, raspberries, or blueberries.
-
With a fruit coulis: A drizzle of berry or mango sauce .
-
With chocolate or caramel sauce: For an extra indulgent treat.
-
With a dollop of whipped cream: Pure perfection.
Variations – Sarah’s Creative Twists
| Variation | How to Make It |
|---|---|
| Caramel Cheesecake | Dollop dulce de leche into the filling and swirl with a knife . |
| Raspberry Cheesecake | Scatter fresh raspberries over the filling before baking . |
| Chocolate Cheesecake | Dollop Nutella into the filling and swirl with a knife . |
| Mango Cheesecake | Dollop mango puree into the filling and swirl with a knife . |
Secrets to Success – From Sarah’s Experience
| Question | Sarah’s Answer |
|---|---|
| Why did my cheesecake crack? | Overbeating the batter, overbaking, or cooling too quickly are the most common causes. Be gentle, bake carefully, and cool slowly . |
| Why is my filling lumpy? | The cream cheese wasn’t at room temperature. Let it soften fully before mixing . |
| Why is my cheesecake still jiggly? | A slight wobble in the center is normal. It will set as it chills . |
| Can I freeze cheesecake? | Yes! Freeze for up to 3 months. Thaw overnight in the fridge . |
| Can I skip the water bath? | Yes! Many classic New York cheesecake recipes are baked without one . However, a water bath ensures a creamier texture and helps prevent cracks . |
Sarah’s Cheesecake Success Tips
-
Room temperature is everything: Cream cheese, eggs, and sour cream should be at room temperature .
-
Low and slow: Mix at low speed to prevent incorporating too much air .
-
Don’t overmix: Once the eggs are added, mix just until combined .
-
Cool slowly: The secret to a crack-free top .
-
Chill overnight: Gives the cheesecake time to set properly .
-
Use a springform pan: This is essential for easy removal .
Conclusion – A Message from Sarah to You
I’m Sarah , and this Classic New York Cheesecake is the dessert that taught me that patience is truly a virtue in the kitchen.
It reminds me of the bustling streets of New York, the warmth of a cosy deli, and the joy of sharing something beautiful with the people we love.
Every time I make this cheesecake, I’m reminded that the best things in life are worth the wait. I hope it brings the same joy and celebration to your table.
I hope you try this recipe and make it your own. I hope it becomes your go-to for celebrations, birthdays, and everything in between.
If you try it, please share your experience with me! Did it turn out perfectly creamy? Did your family love it? I’d love to hear all about it.
With love, cream cheese, and a little bit of New York magic, Sarah. 🤍🍰✨